Home Construction Planning Checklist in Brunswick, Georgia: From Daily Routines to Final Walkthrough

Key Takeaways
- Plan around how the household lives each day before selecting finishes.
- Build a budget that accounts for planning, permits, site work, systems, and unexpected conditions.
- Review the property, drainage, access, utilities, and local requirements before finalizing plans.
- Coordinate storage, lighting, electrical, plumbing, heating, cooling, and moisture control early.
- Use written documents, staged reviews, and a detailed final walkthrough to keep the project organized.
Whether the project involves a new residence, an addition, or a major update, thoughtful construction planning can help homeowners make decisions in the right order. In Brunswick, Georgia, plans should account for day-to-day comfort as well as coastal concerns such as moisture, heavy rain, wind-driven weather, and the need for dependable exterior drainage.
A successful project is not defined only by the finished appearance. It should also support routines, provide practical storage, allow systems to be serviced, and give the household room to adapt over time. Starting with clear priorities can prevent expensive changes after work is underway.
Begin With Daily Life, Not Finishes
Before comparing cabinet colors, flooring, or fixtures, consider how people move through the home. Think about where groceries enter, where shoes and bags collect, which rooms need quiet, and whether work, hobbies, guests, children, or aging family members might change how the space is used.
For example, a kitchen may look polished in a drawing but still feel frustrating if there is little landing space near appliances, limited pantry storage, or no clear place for trash and recycling. Functional planning considers movement, storage, and maintenance alongside appearance.
Early home design decisions can connect room sizes, furniture placement, window locations, lighting, and circulation before details become difficult to change. A clear plan also makes it easier to distinguish essential features from optional upgrades.
Step One: Define the Project Scope
Write a brief project description in plain language. Identify the problems the work should solve, the spaces involved, and the intended outcome. Decide whether the project is a new home, renovation, addition, or a combination of connected improvements.
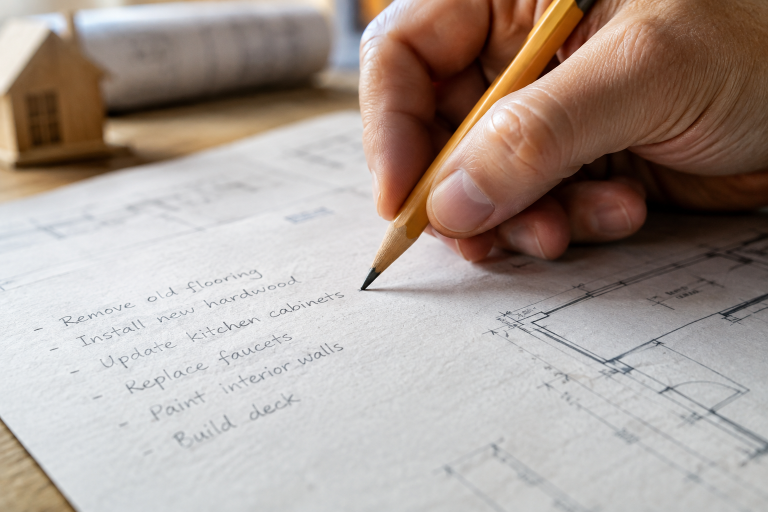
- List must-have items separately from nice-to-have items.
- Set a preferred start date and note any fixed deadlines.
- Identify rooms that must remain usable during construction.
- Record accessibility, privacy, storage, and future-use goals.
- Include exterior needs, such as porches, drainage paths, entries, and outdoor equipment locations.
Step Two: Build a Complete Budget
A useful budget includes more than visible finishes. It should allow for design work, engineering when needed, permits, inspections, demolition, disposal, foundation work, framing, roofing, plumbing, electrical work, heating and cooling equipment, fixtures, paint, landscaping repairs, and temporary living or storage costs.
Keep a contingency reserve for concealed damage, site conditions, owner-approved changes, or materials that must be replaced. The lowest early estimate is not necessarily the lowest final cost when allowances, utility connections, site preparation, or required systems are excluded.
Step Three: Review the Site Before Final Design
A Brunswick-area property can shape the project as much as the floor plan does. Confirm boundaries, setbacks, easements, driveway and delivery access, utility locations, nearby structures, trees, slopes, and how water moves across the site during rain.
Local permitting procedures and code enforcement can vary by jurisdiction. Before relying on any assumption about required work, homeowners can review Georgia’s current state minimum construction codes and confirm the local process for the property.
Step Four: Design for Movement, Storage, and Flexibility
Square footage alone does not make a home comfortable. Daily paths should be clear, doors and drawers should open without blocking traffic, and storage should sit close to where items are used. Plan furniture before finalizing outlets, switches, windows, and lighting locations.
Questions to Test the Layout
- Is there a convenient place for coats, packages, cleaning supplies, and outdoor gear?
- Can people pass through busy rooms without crossing cooking or work zones?
- Are bedrooms, offices, and mechanical equipment placed with sound control in mind?
- Can a flexible room become an office, guest room, playroom, or future bedroom?
Step Five: Plan Comfort, Energy, and Moisture Control
Insulation, air sealing, window placement, ventilation, and equipment sizing should be discussed before walls are closed. Heating and cooling systems need accessible service areas, while ducts, plumbing lines, and electrical pathways need coordinated routes.
In a humid coastal setting, moisture management deserves attention at the roof, exterior walls, bathrooms, kitchens, foundations, and around penetrations. The Department of Energy provides resources for efficient new homes that can help homeowners understand how windows, ventilation, and building assemblies work together.
Step Six: Select and Document the Project Team
Before signing an agreement, compare scopes rather than comparing bottom-line prices alone. Ask who manages the site, who communicates updates, what work is excluded, how allowances are handled, and how changes or delays are documented.
- Confirm relevant experience and review completed work.
- Request written descriptions of materials, labor, and exclusions.
- Clarify responsibility for permits, inspections, ordering, and deliveries.
- Keep approvals, selections, invoices, and change orders in one organized file.
Step Seven: Finalize Selections Before Work Begins
Late decisions can disrupt scheduling and lead to rework. Confirm floor plans, dimensions, cabinetry, major appliances, windows, doors, plumbing fixtures, electrical layouts, lighting, and finish selections as early as practical. Check that drawings and written specifications match, especially where several trades will work in the same area.
Step Eight: Track Work in Clear Stages
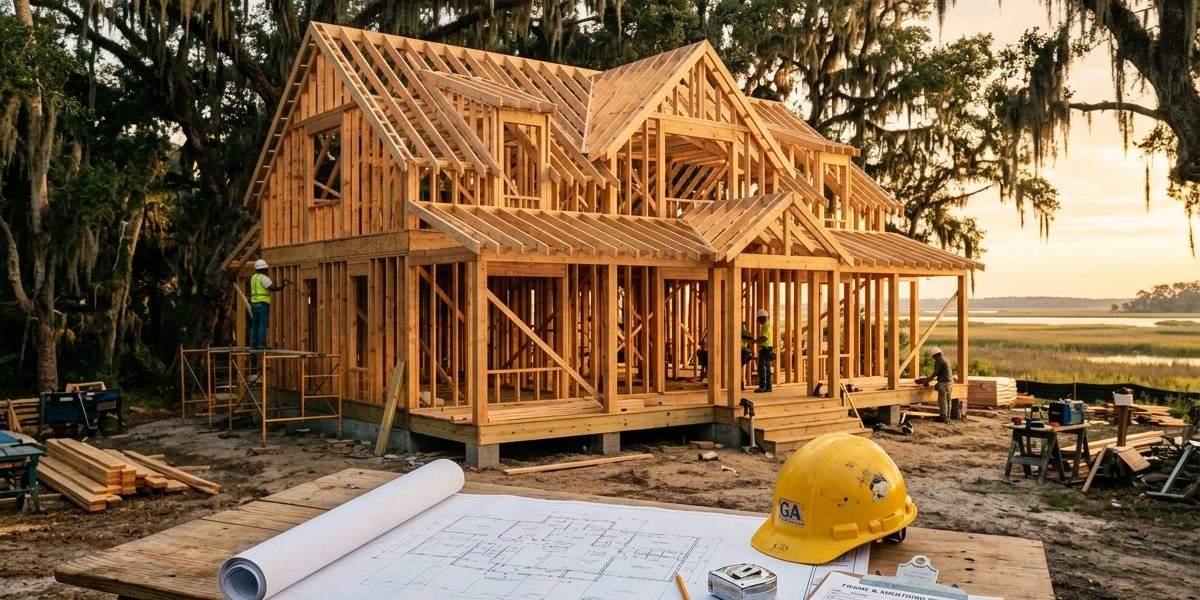
Most projects move through a sequence that includes site preparation, foundation or structural work, framing, exterior enclosure, roofing, windows, rough electrical and plumbing, mechanical work, inspections, insulation, wall finishes, cabinetry, flooring, paint, fixtures, testing, and closeout. Reviewing each stage before the next begins helps catch questions while access is still available.
Common Planning Mistakes to Avoid
- Starting before the scope, budget, and responsibilities are written down.
- Choosing finishes before the layout and system locations are resolved.
- Overlooking storage, equipment access, drainage, or exterior maintenance needs.
- Making major changes after materials are ordered or work has started.
- Relying on verbal promises instead of written approvals and updates.
- Skipping a detailed final walkthrough.
Final Walkthrough Checklist
Before closeout, test lights, switches, outlets, faucets, drains, exhaust fans, appliances, doors, windows, locks, cabinets, drawers, and heating and cooling controls. Look for damaged finishes, gaps, cracks, paint marks, uneven flooring, or incomplete hardware. Outside, review grading, drainage, water-shedding details, and exterior fixtures.
Photograph unfinished items, assign a written correction list, and collect applicable permits, inspection records, warranties, manuals, and final plans. Careful planning, clear communication, and steady review at every stage can help a Brunswick home project feel useful, comfortable, and prepared for the years ahead.