A squeaky O Cedar spin mop can quickly turn your cleaning routine from satisfying to annoying. Many homeowners face this common issue, wondering why their once-quiet cleaning companion has developed an irritating squeak. At Think House Creative, we understand how important smooth cleaning tools are for maintaining your home efficiently.
The good news is that most squeaky pedal issues can be resolved with simple maintenance techniques. Whether you’re dealing with a brand new mop or one that’s been faithfully serving your household for months, understanding the root cause of the squeak is the first step toward a solution.
Most squeaking occurs due to friction between moving parts, lack of lubrication, or accumulated dirt and debris. Before diving into repairs, it’s essential to understand how to use o cedar spin mop properly to prevent future issues. Proper usage often prevents many maintenance problems from developing in the first place.
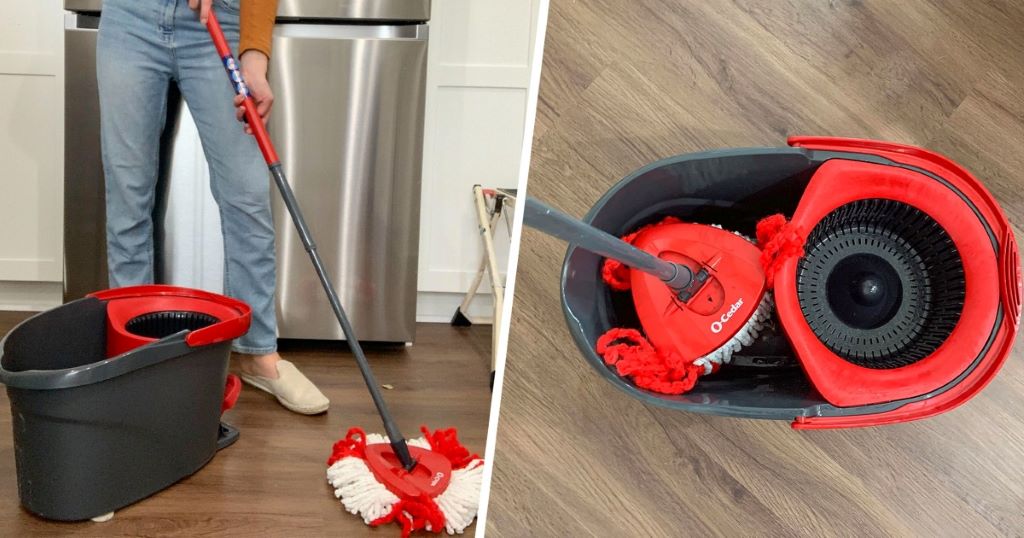
Understanding Your O Cedar Spin Mop Mechanism
The O Cedar spin mop features a foot pedal system that activates the spinning mechanism inside the bucket. This pedal connects to internal gears and springs that create the centrifugal force needed to wring out your mop head effectively.
Over time, these mechanical components can accumulate soap residue, hair, dirt, and other debris. Additionally, the metal and plastic parts may lose their factory lubrication, causing increased friction and that telltale squeaking sound.
The pedal mechanism typically consists of several key components: the foot pedal itself, connecting rods, internal gears, springs, and the spinning basket assembly. Each of these parts can contribute to squeaking if not properly maintained.
Common Causes of Squeaky Pedals
Several factors can contribute to a squeaky O Cedar spin mop pedal. Understanding these causes helps you target your repair efforts more effectively.
Lack of lubrication stands as the most common culprit. The moving parts in your spin mop require adequate lubrication to function smoothly. When this lubrication wears away or gets washed off during cleaning, metal-on-metal or plastic-on-plastic contact creates squeaking sounds.
Accumulated debris presents another frequent problem. Soap scum, hair, lint, and dirt can build up around the pedal mechanism, creating resistance and causing squeaking. This buildup often occurs gradually, making the squeaking worse over time.
Worn or damaged components may also cause squeaking. Springs can lose their tension, plastic parts can crack, and metal components can wear down through regular use. These issues often require part replacement rather than simple cleaning or lubrication.
Temperature changes can affect the materials in your mop, causing them to expand or contract slightly. This dimensional change can alter the fit between components, leading to increased friction and squeaking.
Step-by-Step Repair Process
Before beginning any repairs, ensure your mop bucket is completely empty and dry. Remove the mop head and set it aside for cleaning separately.
Start by examining the pedal mechanism visually. Look for obvious signs of damage, excessive dirt buildup, or loose connections. Sometimes, the problem is immediately apparent and easily fixable.
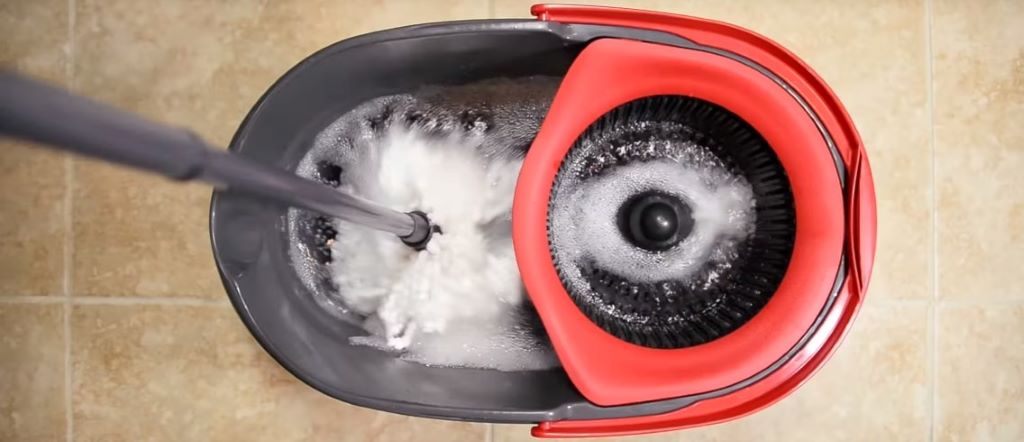
Clean all visible surfaces around the pedal area using warm, soapy water and a soft brush. Pay special attention to any grooves or crevices where debris might accumulate. Rinse thoroughly and dry completely before proceeding.
Next, test the pedal mechanism without water in the bucket. Press the pedal slowly and listen for the source of the squeaking. This helps you pinpoint exactly which component needs attention.
For lubrication, use a silicone-based spray lubricant rather than oil-based products. Silicone lubricants won’t attract dirt and debris like traditional oils. Apply sparingly to all moving joints and pivot points.
Work the pedal mechanism several times after applying lubricant to distribute it evenly throughout the moving parts. Wipe away any excess lubricant to prevent dirt attraction.
Cleaning and Maintenance Tips
Regular maintenance prevents most squeaking issues from developing. After each use, rinse your mop bucket thoroughly with clean water to remove soap residue and debris.
Monthly deep cleaning helps maintain optimal performance. Disassemble removable components according to your mop’s instructions and clean each part individually with warm, soapy water.
Inspect the pedal mechanism regularly for signs of wear or damage. Early detection of problems allows for easier repairs and prevents more serious issues from developing.
Store your mop in a dry location to prevent rust and corrosion of metal components. Moisture can accelerate wear and contribute to squeaking problems.
Consider the water quality in your area. Hard water can leave mineral deposits that interfere with smooth operation. If you have hard water, rinse components with distilled water occasionally to remove mineral buildup.
When to Replace Components
Sometimes, cleaning and lubrication aren’t enough to eliminate squeaking. Worn or damaged components may need replacement to restore quiet operation.
Springs that have lost their tension or become corroded should be replaced. Most manufacturers offer replacement parts, or you can find generic springs that match the original specifications.
Cracked or warped plastic components can cause irregular movement and squeaking. These parts typically need complete replacement rather than repair.
If the pedal itself becomes loose or wobbly, check the mounting hardware. Tightened screws or bolts may resolve the issue, but severely worn mounting points might require professional repair or replacement.
Metal components showing signs of significant wear or corrosion should be evaluated for replacement. Surface rust can sometimes be cleaned away, but deep corrosion compromises structural integrity.
Prevention Strategies
Preventing squeaky pedal problems is easier than fixing them. Proper usage techniques significantly extend your mop’s lifespan and maintain quiet operation.
Avoid pressing the pedal with excessive force. The mechanism is designed to work with moderate pressure, and excessive force can accelerate wear and damage components.
Don’t use harsh chemicals or abrasive cleaners on the pedal mechanism. These products can damage lubricants and plastic components, leading to premature wear and squeaking.
Allow all components to dry completely after each use. Trapped moisture can cause rust, corrosion, and the breakdown of lubricants.
Follow the manufacturer’s recommended usage guidelines. Overloading the spinner or using it beyond its intended capacity can stress components and lead to premature failure.
Troubleshooting Persistent Issues
If squeaking persists after cleaning and lubrication, more thorough investigation may be necessary. Disassemble the pedal mechanism as much as possible according to your mop’s instructions.
Check for hairline cracks in plastic components that might not be immediately visible. These small cracks can cause irregular movement and squeaking even when properly lubricated.
Verify that all components are properly aligned and seated. Misaligned parts can bind during operation, creating friction and noise.
Consider the age of your mop. Older units may have wear patterns that prevent smooth operation regardless of maintenance efforts. In these cases, replacement might be more cost-effective than continued repairs.
Professional Repair Options
Some squeaking issues may require professional attention or manufacturer support. If your mop is still under warranty, contact the manufacturer before attempting extensive repairs yourself.
Many cleaning equipment retailers offer repair services for popular mop brands. These services can be particularly valuable for complex mechanical issues or when replacement parts are difficult to locate.
Online forums and manufacturer websites often provide troubleshooting guides specific to your mop model. These resources can offer model-specific solutions not covered in general repair guides.
Conclusion
Fixing a squeaky O Cedar spin mop pedal typically requires simple cleaning, lubrication, and basic maintenance. Most squeaking issues stem from lack of lubrication, accumulated debris, or worn components that can be addressed with common household tools and supplies.
Regular maintenance prevents most problems from developing, making prevention the best strategy for long-term quiet operation. When repairs are necessary, start with the simplest solutions before moving to more complex interventions.
Remember that proper usage and storage significantly extend your mop’s lifespan while maintaining optimal performance. With proper care, your O Cedar spin mop can provide years of quiet, effective cleaning service.
Frequently Asked Questions
Why does my O Cedar spin mop squeak only sometimes? Intermittent squeaking usually indicates partially dried lubricant or debris that shifts during use. Temperature changes can also cause materials to expand or contract, creating occasional friction.
Can I use WD-40 to fix my squeaky mop pedal? While WD-40 can provide temporary relief, silicone-based lubricants are better for long-term use. They don’t attract dirt and debris like petroleum-based products and provide longer-lasting lubrication.
How often should I lubricate my spin mop pedal? Lubricate the pedal mechanism every 2-3 months with regular use, or whenever squeaking begins to develop. More frequent lubrication may be necessary in high-use households or areas with hard water.
Is it normal for new O Cedar mops to squeak? Some initial squeaking is normal as components settle and factory lubricants redistribute. However, persistent squeaking in new units may indicate a manufacturing defect covered under warranty.
What should I do if lubrication doesn’t stop the squeaking? If lubrication doesn’t resolve the issue, inspect for damaged components, accumulated debris, or misaligned parts. Deep cleaning or component replacement may be necessary for persistent problems.
Read More:
Water Heater Too Hot on Lowest Setting: Causes, Fixes, and Safety Tips
Heating and Cooling Near Me—Could Your Lebanon, TN Home Benefit From Zoned Systems?


